Install Proxmox Backup Server + Tailscale NFS Share สำหรับ backup offsite (LXC)
ตัวอย่างนี้จะประกอบไปด้วย server 2 ตัวคือ
- Proxmox ที่ติดตั้ง PBS (LXC) ลงในตัว
- raspbery pi zero 2w ที่ติดตั้ง OMV ไว้เป็น storage
server ทั้ง 2 จะทำการคุยกันโดยใช้ tailscale เป็น VPN เชื่อมต่อผ่าน NFS Share
ส่วนของ Proxmox Server
ติดตั้ง PBS LXC
ใช้ script จาก https://community-scripts.github.io/ProxmoxVE/scripts?id=proxmox-backup-server
bash -c "$(curl -fsSL https://raw.githubusercontent.com/community-scripts/ProxmoxVE/main/ct/proxmox-backup-server.sh)"หลังจากนั้น Disable Enterrpise Repo แนะนำให้ Yes ทุกข้อ
bash -c "$(curl -fsSL https://raw.githubusercontent.com/community-scripts/ProxmoxVE/main/tools/pve/post-pbs-install.sh)"อย่าข้าม Disable Enterrpise Repo ไม่งั้นลงไม่ได้
ติดตั้ง Tailscale
จาก https://tailscale.com/kb/1031/install-linux
curl -fsSL https://tailscale.com/install.sh | shหลังจากติดตั้งแล้วมันจะแนะนำให้ tailscale up ซึ่งมันจะรันไม่ได้ ต้องทำตามนี้ก่อน
https://tailscale.com/kb/1130/lxc-unprivileged
ดู lxc id จากตัวอย่างคือ 101
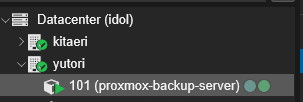
ไปที่ shell ของตัว server ดูเลข id ให้ตรงแล้วใส่คำสั่งลงไปเช่น
nano /etc/pve/lxc/101.confเพิ่มลงไปในแถวสุดท้าย
lxc.cgroup2.devices.allow: c 10:200 rwm
lxc.mount.entry: /dev/net/tun dev/net/tun none bind,create=file
กด ctrl+x หลังจากนั้น y และ enter ออกมา
reboot lxc และลองพิมพ์ tailscale up จะพบว่าใช้งานได้แล้ว
ให้ทำการ copy url ไป authenticate เข้า id เราตามปกติ (อย่าลืมไป disable key expire ด้วย)
หลังจากนั้นให้ทำ NFS Share ได้ตามปกติ
ส่วนของ raspberry pi
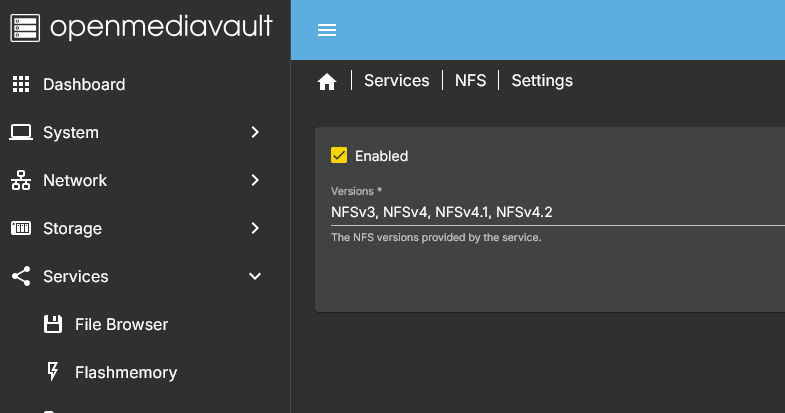
ให้เข้าไปใน OMV และ ดูที่ Service > NFS > Settings
ให้เปิดใช้งาน NFS
หลังจากนั้นให้ดูที่ Service > NFS > Shares
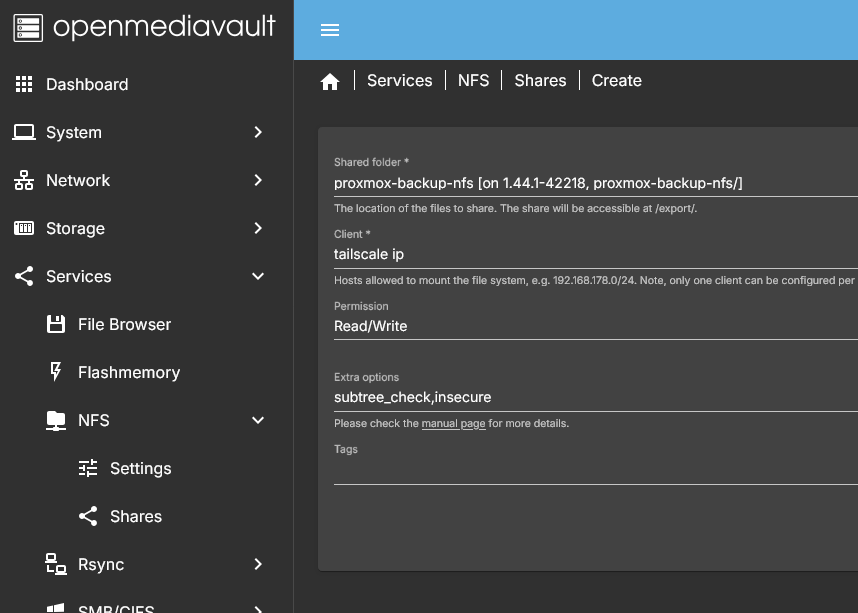
จบส่วนตั้งค่าของ raspbery pi
ส่วนของ Proxmox Server (ต่อ)
หลังจากกำหนด ip tailscale ของ PBS (LXC) ใน raspberry pi แล้ว ก็จะมาถึงขั้นตอนการ mount ซึ่งทำเหมือนกับ Mounting a Synology NAS (NFS Share) เลยคือ
ติดตั้ง nfs ก่อน
apt-get install nfs-common -yหลังจากนั้นสร้างสร้าง folder เพื่อใช้ในการ mount
mkdir /mnt/media/pibackup
สร้างไฟล์ config mount
nano /etc/fstabเพิ่มคำสั่ง mount โดย
# <file system>     <dir>    			<type>   <options>  <dump>	<pass>
100.100.100.100:/proxmox-backup-nfs /mnt/media/pibackup  nfs      defaults    0       0
กด ctrl+x เพื่อปิด หลังจากนั้นกด y เพื่อเซฟทับ และ enter เพื่อตกลง
mount drive ด้วยคำสั่ง
mount -a